반응형
자바에서 POI 라이브러리를 활용하여 엑셀 읽기를 해보겠다.
과거버전 xls가 아닌 xlsx를 다루는점 참고하길 바라며, 라이브러리는 apache에서 다운받아 사용하거나
maven추가로 사용하면 된다.
지금부터만드는 자바Class 및 함수는 엑셀을 읽고 List로 리턴하는 함수이다.
Maven추가
<!-- excel -->
<dependency>
  <groupId>org.apache.poi</groupId>
  <artifactId>poi</artifactId>
  <version>3.17</version>
</dependency>
<dependency>
  <groupId>org.apache.poi</groupId>
  <artifactId>poi-ooxml</artifactId>
  <version>3.17</version>
</dependency>
POI 3.17버전으로 사용하였다.
JAVA 엑셀을 읽는 XlsxUtils Class 생성
package egov.mongo.utils;

import java.io.FileInputStream;
import java.io.FileNotFoundException;
import java.io.IOException;
import java.util.ArrayList;
import java.util.List;

import org.apache.poi.ss.usermodel.CellType;
import org.apache.poi.xssf.usermodel.XSSFCell;
import org.apache.poi.xssf.usermodel.XSSFRow;
import org.apache.poi.xssf.usermodel.XSSFSheet;
import org.apache.poi.xssf.usermodel.XSSFWorkbook;

public class XlsxUtils {

	@SuppressWarnings("resource")
	public static List<List<String>> readToList(String path){
		List<List<String>> list = new ArrayList<List<String>>();

		try {
			FileInputStream fi = new FileInputStream(path);
			XSSFWorkbook workbook = new XSSFWorkbook(fi);
			XSSFSheet sheet = workbook.getSheetAt(0);

			for(int i=0; i<sheet.getLastRowNum(); i++) {
				XSSFRow row = sheet.getRow(i);
				if(row != null) {
					List<String> cellList = new ArrayList<String>();
					for(int j=0; j<row.getLastCellNum(); j++) {
						XSSFCell cell = row.getCell(j);
						if(cell != null) {
							cellList.add( cellReader(cell) ); //셀을 읽어와서 List에 추가
						}
					}
					list.add(cellList); // 추가된 로우List를 List에 추가
				}
			}
		}catch(FileNotFoundException e) {
			e.printStackTrace();
		}catch(IOException e) {
			e.printStackTrace();
		}

		return list;
	}


	@SuppressWarnings("incomplete-switch")
	private static String cellReader(XSSFCell cell) {
		String value = "";
		CellType ct = cell.getCellTypeEnum();
		if(ct != null) {
			switch(cell.getCellTypeEnum()) {
			case FORMULA:
				value = cell.getCellFormula();
				break;
			case NUMERIC:
			    value=cell.getNumericCellValue()+"";
			    break;
			case STRING:
			    value=cell.getStringCellValue()+"";
			    break;
			case BOOLEAN:
			    value=cell.getBooleanCellValue()+"";
			    break;
			case ERROR:
			    value=cell.getErrorCellValue()+"";
			    break;
			}
		}
		return value;
	}
}
스트림을 통해 파라미터로 넘어온 경로를 확인하고 엑셀파일을 엑셀Workbook에 읽어서 파싱을 시작한다.
첫번째 시트만 읽도록 처리해놨다.
로우의 수만큼 차례대로 셀을 확인하여 셀의 타입을 cellReader함수에서 체크하고 List배열에 담는다.
Main.java
public class Main {

	public static void main(String[] args) {
		String filePath = "C:/test/ttt.xlsx";
		List<List<String>> readList = XlsxUtils.readToList(filePath);

		readList.forEach(row->{
			row.forEach(cell->{
				System.out.print(cell+", ");
			});
			System.out.println();
		});
	}
}
위 문법이 어렵다면(자바 1.8이하라면)
아래방법 for문으로 확인하면 된다.
public class Main {

	public static void main(String[] args) {
		String filePath = "C:/test/ttt.xlsx";
		List<List<String>> readList = XlsxUtils.readToList(filePath);

		for(int i=0; i<readList.size(); i++) {
			for(int j=0; j<readList.get(i).size(); j++) {
				System.out.print(readList.get(i).get(j)+", ");
			}
			System.out.println();
		}
	}
}
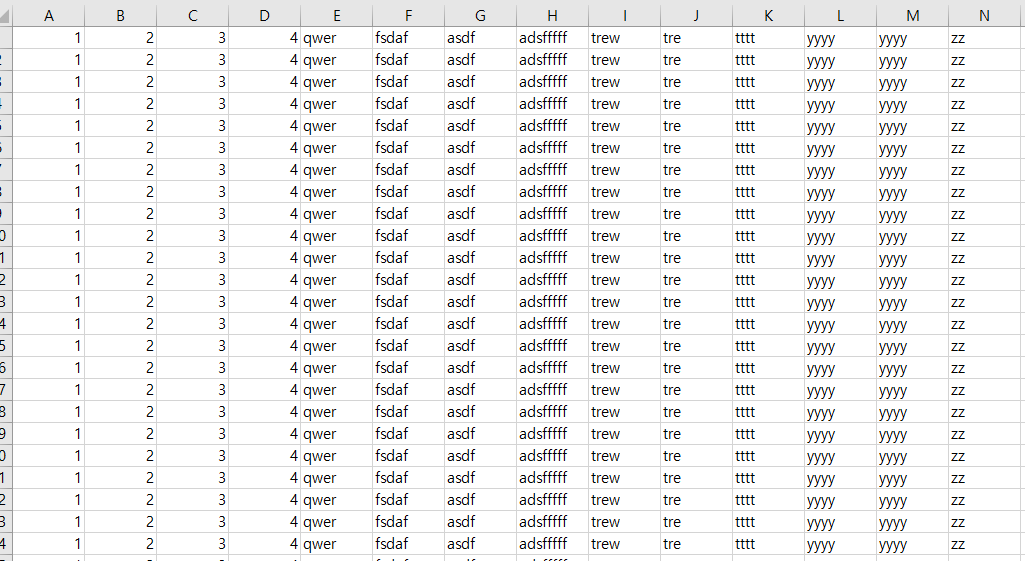
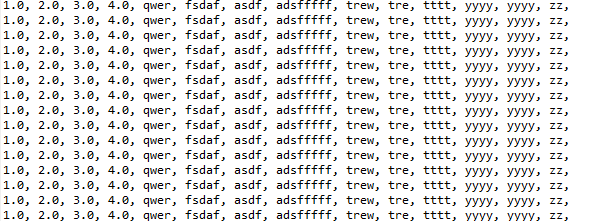
정상적으로 엑셀 데이터를 읽어와서 List에 담긴걸 확인할 수 있다.
반응형
'JAVA' 카테고리의 다른 글
| JAVA - 클래스의 메소드 참조, "::", List 출력, "System.out::println" (0) | 2020.01.14 |
|---|---|
| JAVA8 - 자바 1.8이상 버전에서 날짜, 시간 구하기(LocalDate, LocalTime, LocalDateTime) (0) | 2019.12.17 |
| JAVA - CSV 파일 읽기(한글 읽기, 한글 깨짐 방지, CSV 인코딩 UTF-8 저장) (0) | 2019.12.11 |
| Java - 오늘, 어제, 이번달, 올해, 지난해 등 날짜 구하기 (0) | 2019.11.29 |
| JAVA - request.getParameter 모든 값 확인하기(key, value 확인) (0) | 2019.11.29 |